
The Frame
(click on each image to view a larger version)
|
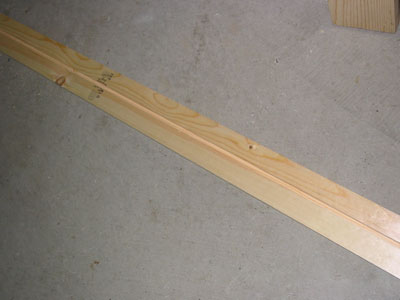
Cut two 1x3's for the vertical dimension (height) of the frame. Router a groove into one of them slightly off center. |
|
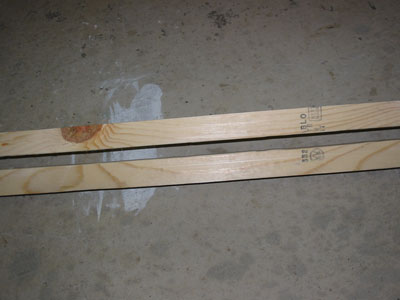
For the other 1x3, router a 1/2" groove all the way through. In hindsight, it might have been easier to do this for both 1x3's. |
|
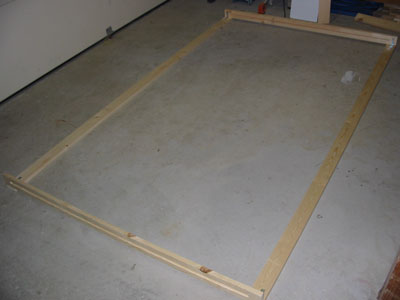
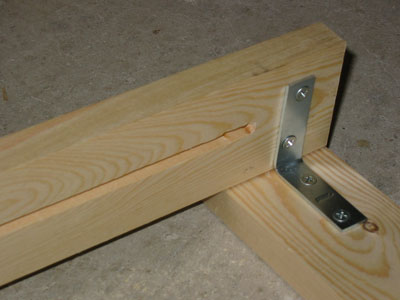
Cut two 1x3's for the horizontal dimension (width) of the frame. Lay the two horizontal pieces flat, stand the two routered pieces on top and attach them together. After everything is in place and the masking system is in, two more 1x3's will stand on top of the horizontal pieces as well. |
|
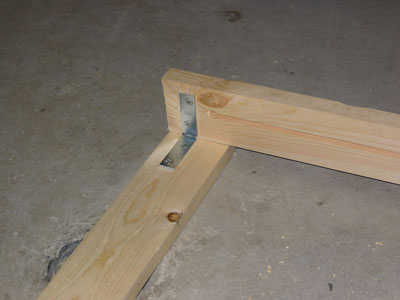
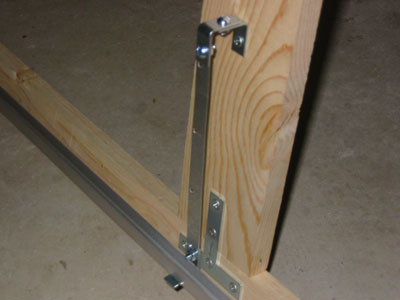
Both nails and corner braces are used to keep the frame sturdy. |
|
Attach similarly to all four corners. Hmm...should have worked out more of the details for the integrated masking at this point. I ended up having to remove the corner braces and reattach lower to accommodate the masking components that went in later. |
|
For the middle of the frame, put in a 1x4 cut to length. Attach with T braces for sturdiness. |
|
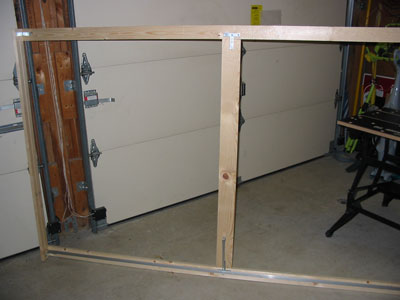
Here's a look at the frame with the center brace in place. The center 1x4 is also used to help support the screen board. |
|
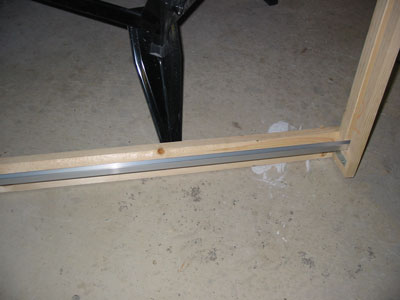
Cut a 1/4" metal C channel to size and run it along the bottom of the frame and into the bottom of the grooves cut out of the 1x3 sides. Nail into place. This serves as a guide for the screen board and also helps support it. |
| |
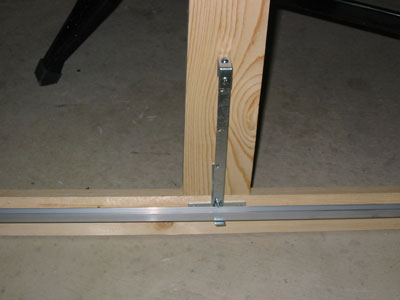
Attached to the center brace is a support for the C channel. It is constructed out of several small corner braces and a thin strip of sheet metal cut to size. |
| |
This is a better look at the support. This was created as opposed to having a single bracket going straight across in anticipation of the masking system. The masks will be stored behind the screen so some clearance needs to be kept available for it. |