When devising the masking
system, I wanted something that could be integrated within the frame and
hidden out of sight. I wanted to avoid having it add bulk around the
screen. With the tight parameters I set on the frame size, a roll-up
masking was ruled out. I needed the space for the cloaking
system. So the masking material will be pulled to the backside of
the screen when not used.
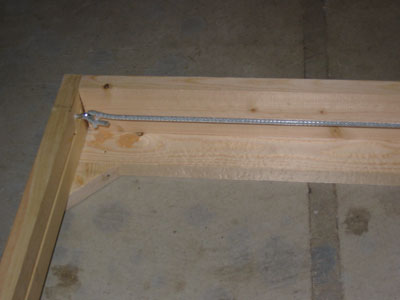
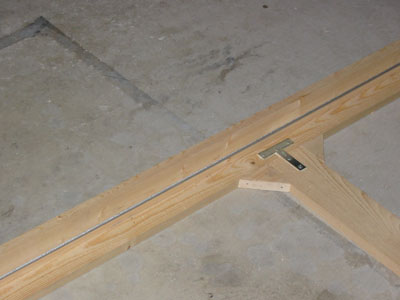
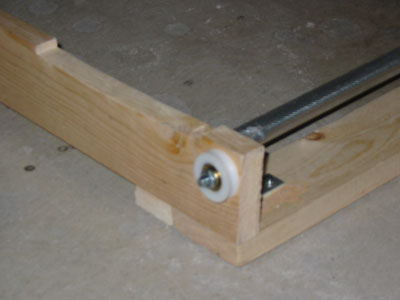
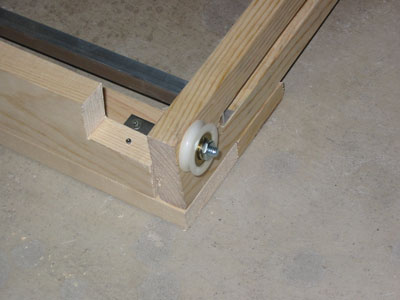
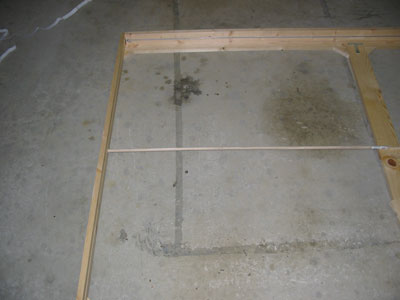
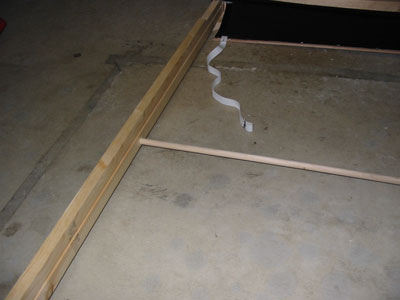
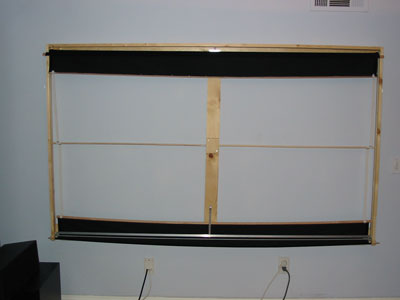
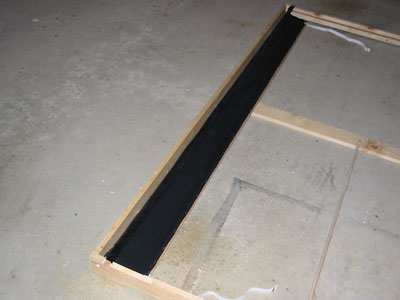
The masking is velveteen, and wooden
molding trim is attached lengthwise to both ends of the fabric.
Probably would be better to go with something a little stiffer and
straighter. After putting it up, noticed that there was some sag in
the bottom mask.
As a guide for the masking
material to wrap behind and in front of the screen board, vinyl covered
wire rope is stretched taut.
Another look at the mask guide
wire.
Notches need to be put into the
vertical frame pieces to create a slot where the mask will slide.
Now why didn't I plan for this and have an easier time doing it way back
before they were assembled into the frame?
Another shot of the notch needed
in the vertical beam. There are notches both on top and bottom since
there is masking required on both ends. Here, you can also see a
round white piece attached at the bottom. This is actually sliding
screen door hardware. But in this case, serves as a basic pulley.
Another shot of a similar pulley
on the other side of the screen. The concept is that the leading
edge of the bottom masking will have string that runs around this pulley
and up to the leading edge of the top mask. When the bottom one is
pulled up, the top one is automatically pulled down.
A wooden dowel is attached and
stretched across the middle of the frame. The masks will rely on
elastic tension to pull it back to the stored position behind the
screen. The dowel is what the elastic will be attached to.
A shot of how the dowels are
attached to the middle of the frame. This also allows them to be
quickly removed and changed out if required.
This is a shot of the elastic
attached to the back end of the mask. The elastic is only attached
to the left and right edges of the mask. This keeps the pulling
tension on the sides of the mask to minimize bowing and unequal tension
along the length of the mask.
Here, the frame and integrated
masking is mounted on the wall. This gives you an idea of where the
masking resides.