 |
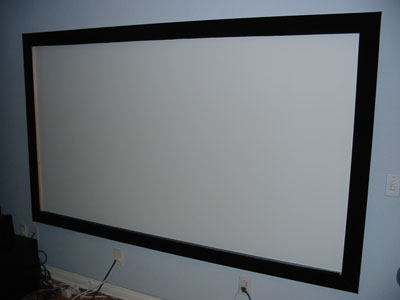
Here's the screen framed out and
finished. Unfortunately, I didn't take pics of the construction of
the borders. They are created from 3 1/4" base molding.
Basically, the widest I could find at Home Depot. There are four
distinct pieces that have been mitre cut, with velveteen wrapped and glued
on. The borders are important, as they define the screen size.
They also hide the frame and masking. They are attached to the frame
with industrial strength velcro. They are easily removed if
required. |
 |
A second picture of the screen
from an angle. |
 |
A picture of the screen with the
masks pulled. Although the camera is causing some of the distortion,
it is noticeable that the line created by the bottom mask is not entirely
straight. I'm planning on redoing a couple of aspects of the
masking. The good thing about the velveteen is that from a distance,
you can't really tell where the borders end and the masking begins.
You actually have to get fairly close to see that they are distinct. |
 |
Looking at the screen from
straight on and a distance, it's hard to tell that the border is about an
inch off of the screen surface. This is a shot up close looking
along the screen towards the upper right portion of the frame. The
other thing that this highlights is the fact that the frame isn't painted
yet. |
 |
Here's a shot of the frame from
the side. You can see the border attached to the front of the frame
and the screen board sitting in the slot of the frame. |


